This post is all about how I create my inexpensive
photography backdrops.


You can create any size backdrop boards using this simple method.
My boards measure 2 feet x 3 feet.
I buy a 2 x 4 foot MDF board and have it cut down to
3 feet at no extra cost to me. I make sure I save
that extra piece that was cut off. You never know
when I could use a scrap piece of board
to create a new sign.
Cost of a 2 x 4 foot MDF board, $6.46.
I can get 2 backdrop boards per board simply
by painting the front and back different colors.
Cost of board per each side, $3.23.
We're off to a good start!
Supplies needed:
MDF board - 1/4 inch thickness
Paint - you will only use a few tablespoon
of each color
Inexpensive chip brush
rag
paper plate
water
I buy sample pots of paint in a flat finish which cost $2.94.
You can get these little sample pots of paint mixed into
any color you want.
For my boards I try to only use 3 different colors of paint,
otherwise the boards get a little too busy and the colors
blend together too much making them look like one
solid color.
For this board I used white, medium gray and dark gray,
which I happened to have in my paint stash,
cost for paint, $0.
Let's paint a photography backdrop!
Once I had everything set up and all the supplies ready,
I was able to paint one of these boards in 15 minutes time.
I poured out a little of the white paint onto the paper plate
then diluted it with water so it wasn't so thick and was
easier to paint on a thin layer using the chip brush,
plus it would dry quicker. By the time I was done
painting the board the top half was already dry
and I could start adding the second color.

I diluted the medium gray and applied it with a wet rag that I
dipped into the paint and randomly dabbed onto the board leaving
part of the white showing through.

Once I had 1/3 of the board painted

I re-wet the rag with water only and lightly pounced over
the painted area again to blend the colors together.
I continued using this method until I had completely covered the board.
the painted area again to blend the colors together.
I continued using this method until I had completely covered the board.

I randomly applied the dark gray the same way.
I let the boards dry overnight then applied 2 coats of
a matte polycrylic to protect the finish from spills and dirt.
How's that for quick and easy and inexpensive?
There really is no right or wrong way of making these boards.
How's that for quick and easy and inexpensive?
There really is no right or wrong way of making these boards.

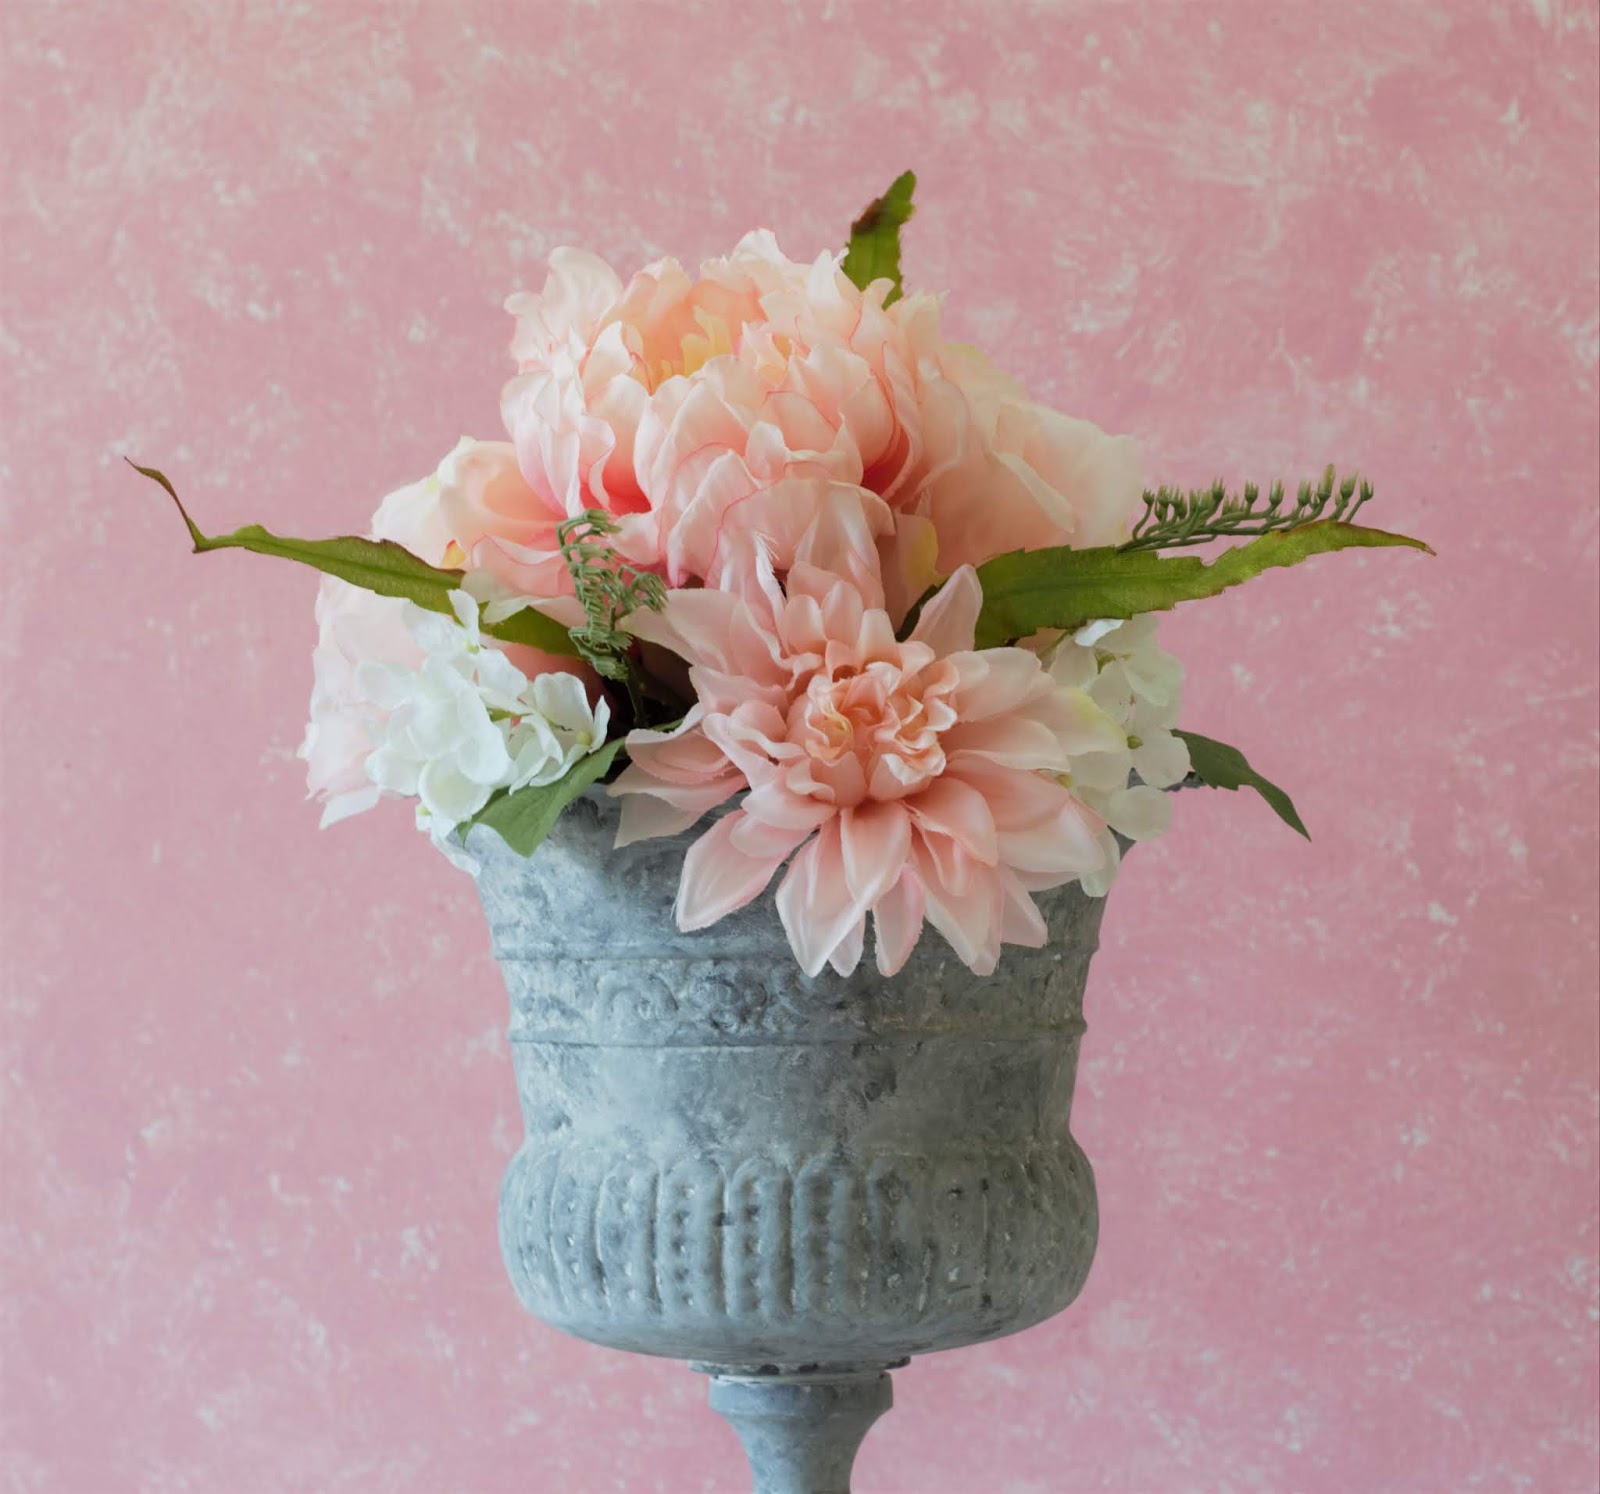
This photo shows the board being used as a countertop
and a darker gray backdrop used as a wall in the background.

Each board has it's own unique design.
For something so simple and inexpensive
they sure do photograph beautifully.
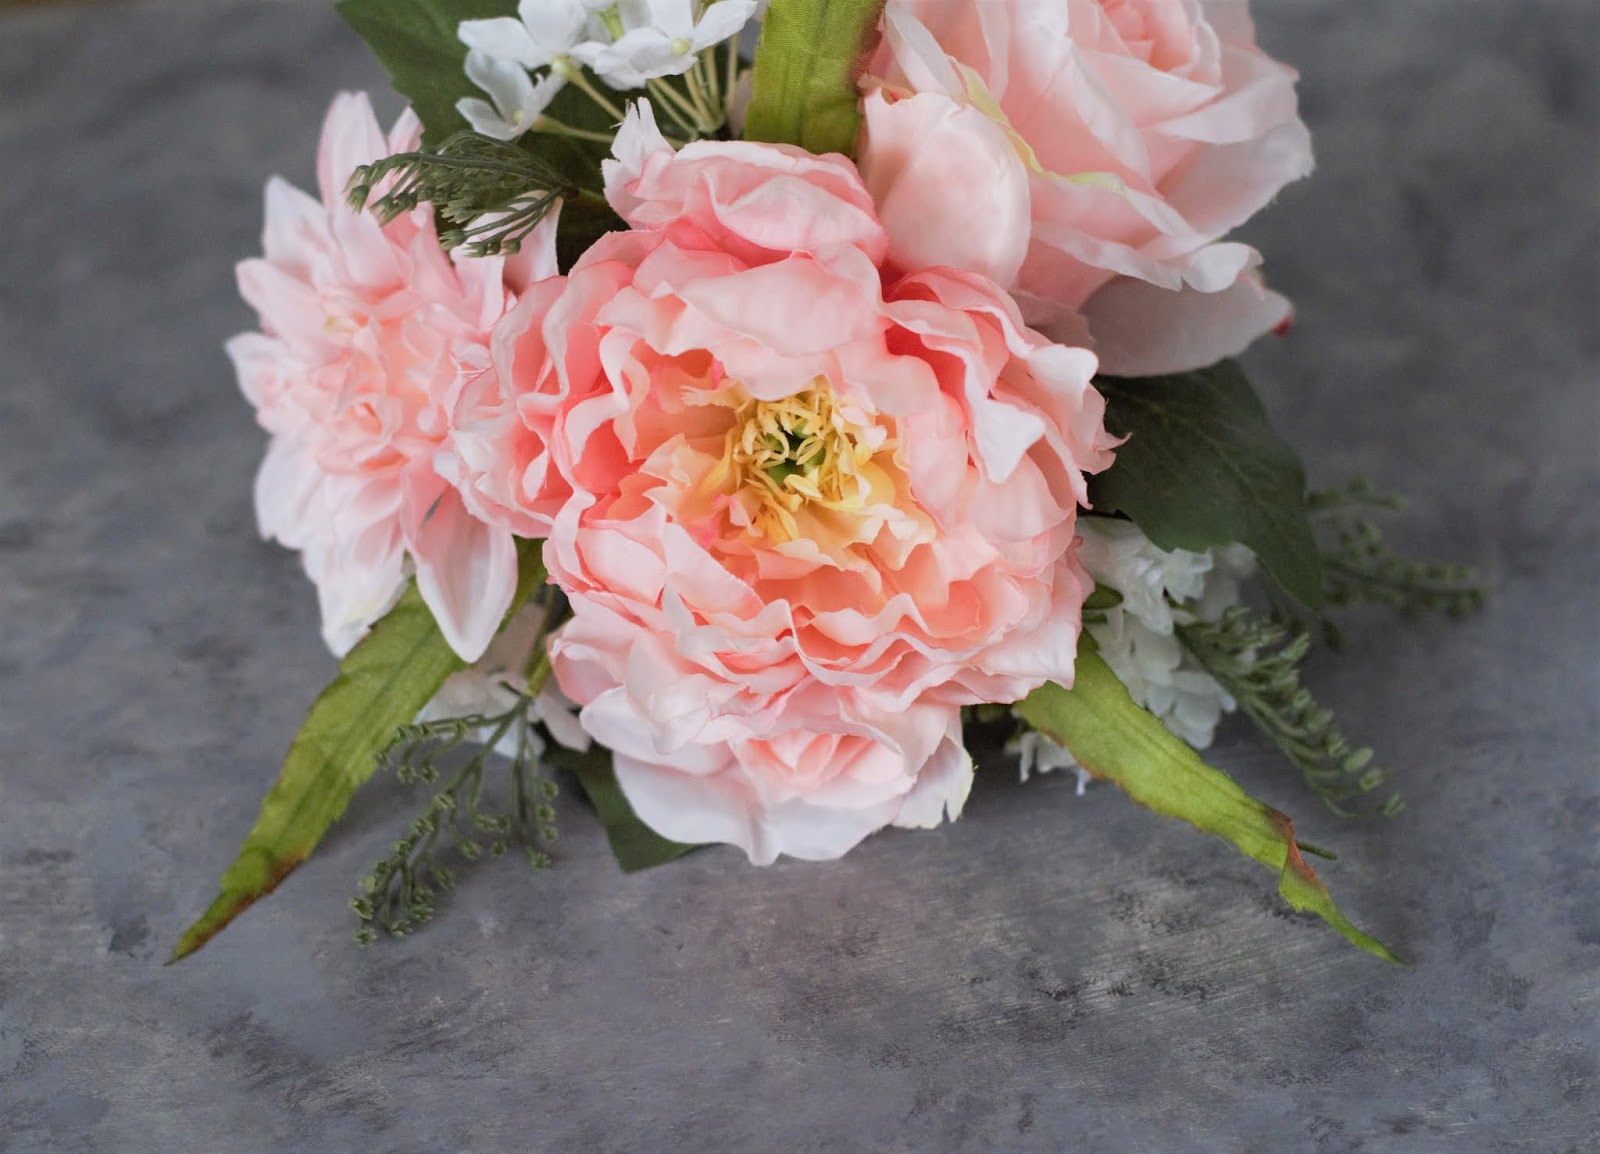
A close up of the dark gray backdrop board.
For something so simple and inexpensive
they sure do photograph beautifully.
A close up of the dark gray backdrop board.
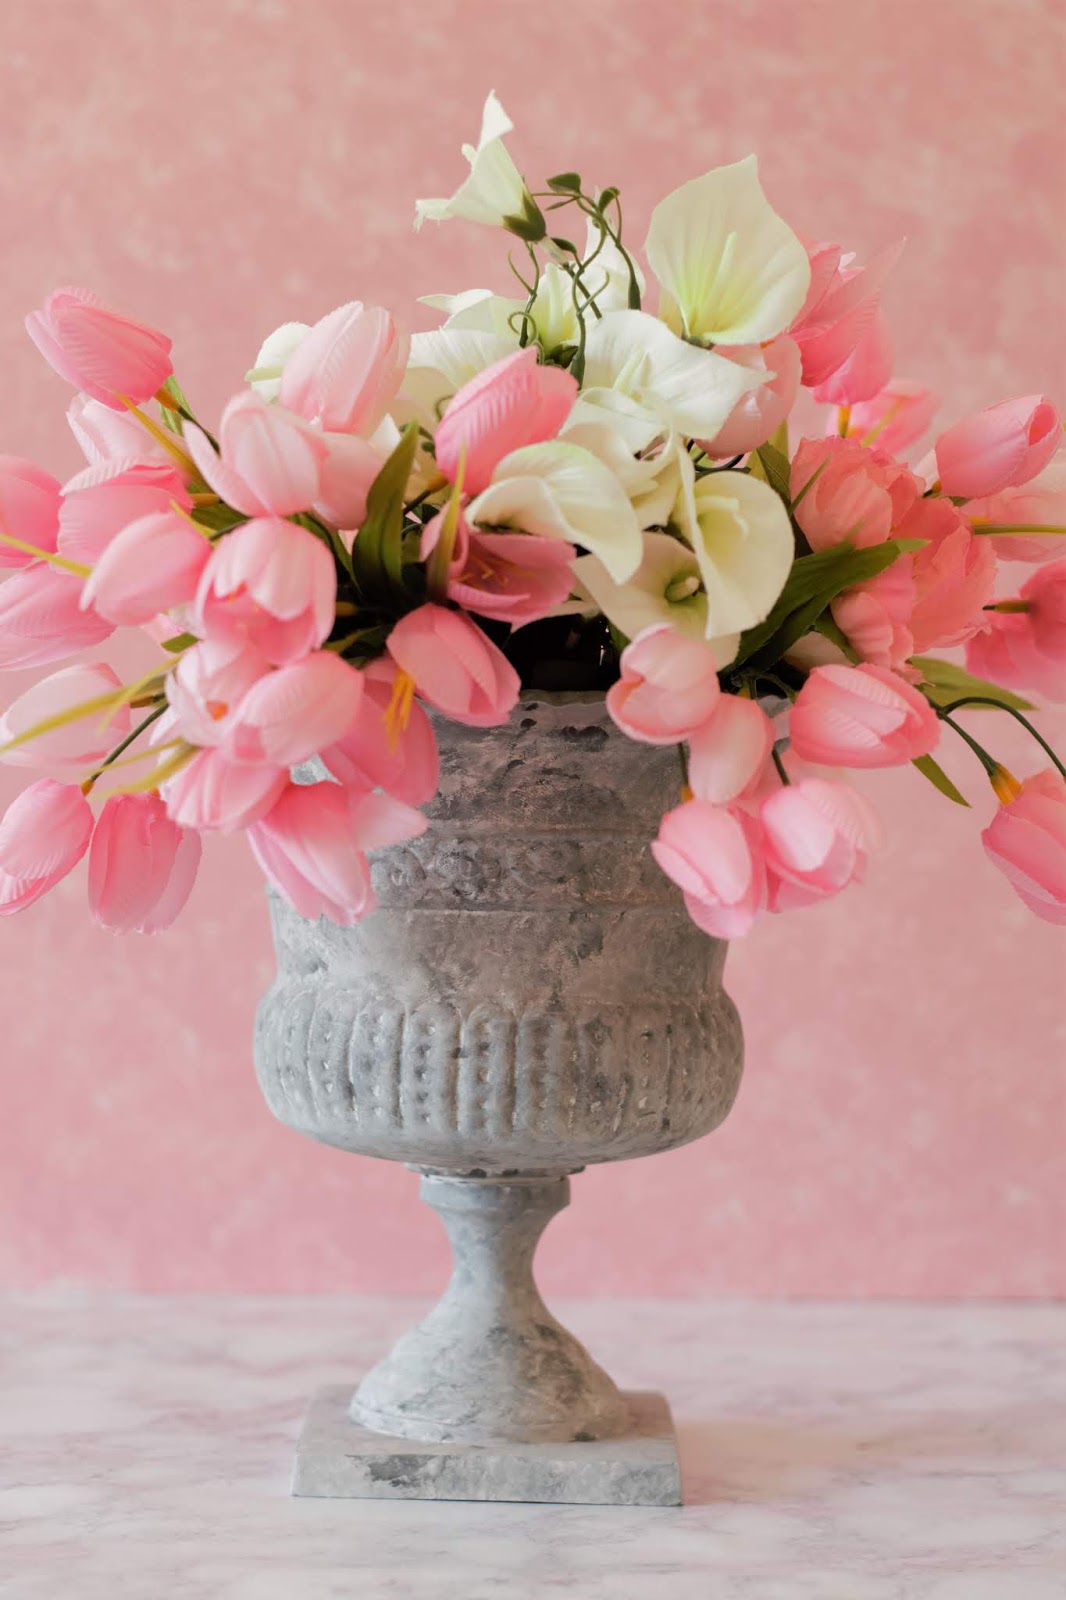
By placing these boards in different rooms of our home,
I can completely change the shades of color,
along with the mood of the image.
Believe it or not,
this is the same board in the next 2 photos.
You caught a glimpse of this board

when I posted my pizza sauce.

These boards are so addictive to make.
To date, I have made 12 of these backdrops.
Here are just a few I created.
To date, I have made 12 of these backdrops.
Here are just a few I created.


Oh, how I love this moody looking dark blue board I created.
Same flowers on different colored backdrops.
Same flowers on different colored backdrops.


These boards will be used a ton in my photography.
Why buy professional backdrops, which can be
quite pricey, when you can create your own for
a few dollars? These DIY backdrops
photograph just as well as the professional ones.
Don't you think so?
To store these I stack them on top of each other
and lay them flat under our bed.
That's it for this week.
Until Next Time,
Veronica