Are you a Peanut Butter Lover?
Have you ever had No Bake Peanut Butter Pie?
I happened to mention Peanut Butter pie at
work the other day and I got looks like I
had a third eye in the middle of my forehead.
Apparently, here in Wisconsin, they have never
heard of Peanut Butter pie!
I was asked if it was a joke.
So to prove to them that indeed it was no joke, I made
2 Peanut Butter pies and took them to work to share.
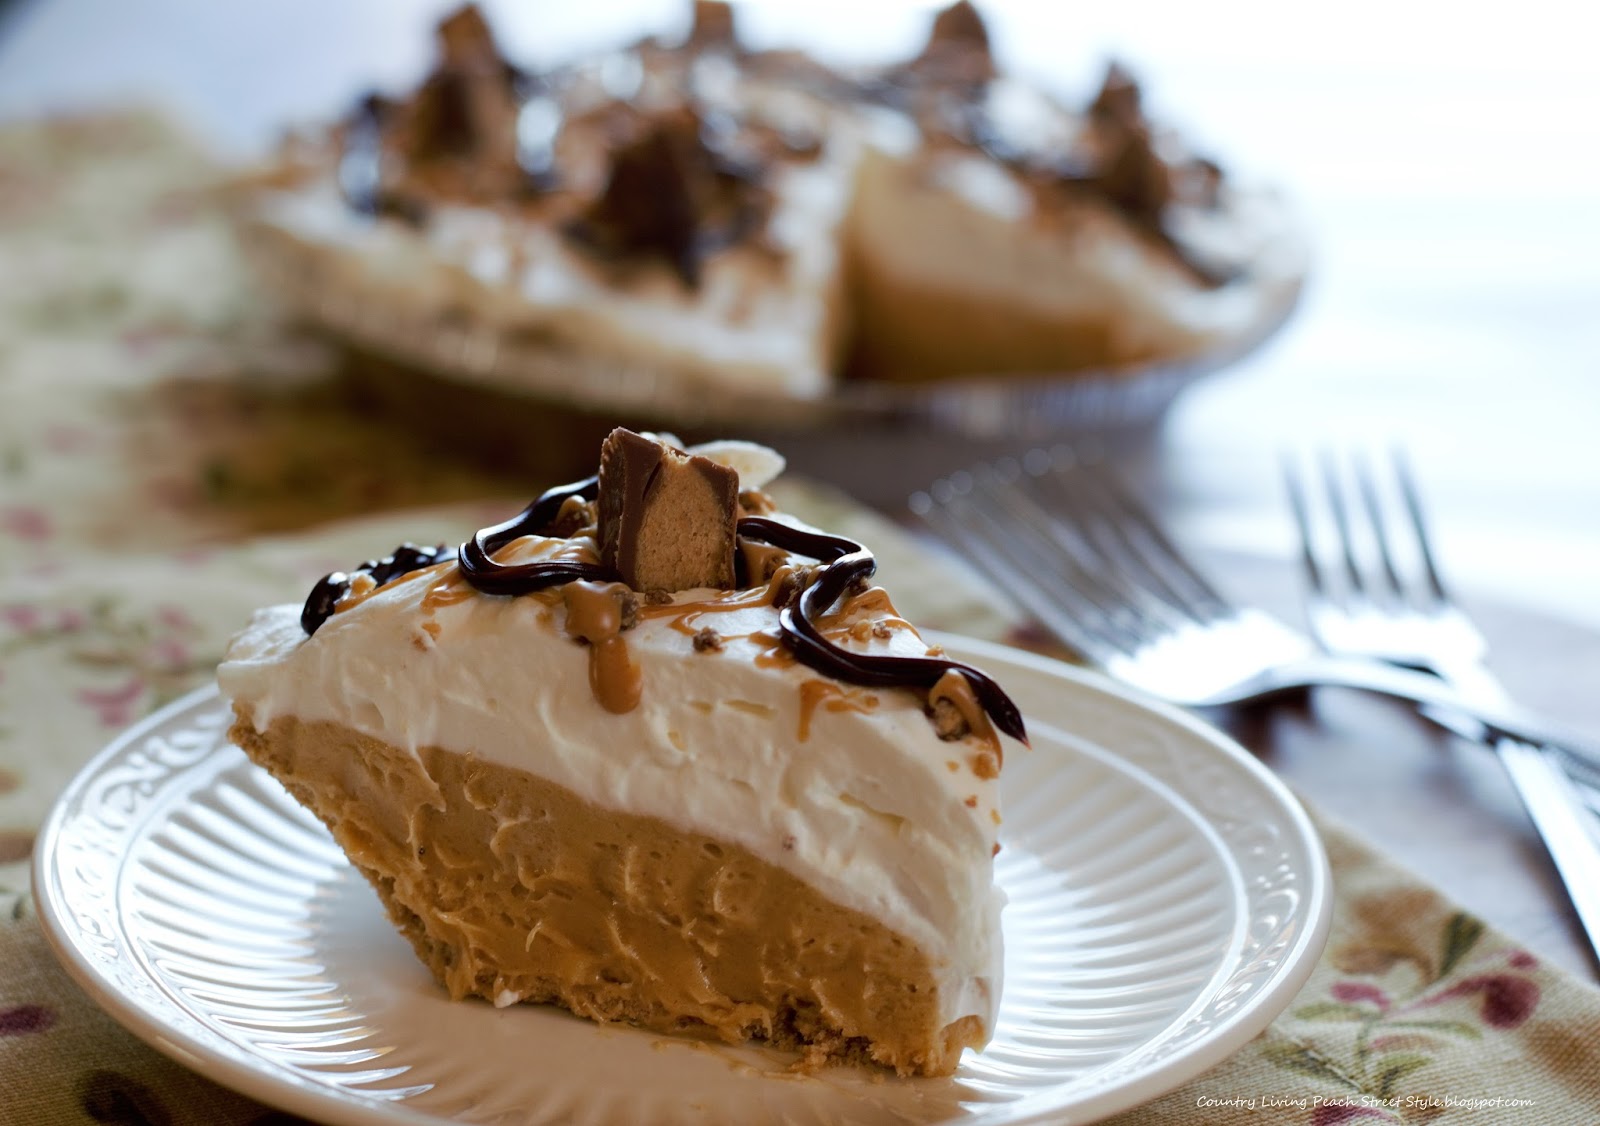
Doesn't it look like it came straight from the Bakery?
I happened to mention Peanut Butter pie at
work the other day and I got looks like I
had a third eye in the middle of my forehead.
Apparently, here in Wisconsin, they have never
heard of Peanut Butter pie!
I was asked if it was a joke.
So to prove to them that indeed it was no joke, I made
2 Peanut Butter pies and took them to work to share.
Doesn't it look like it came straight from the Bakery?

I'm one of those people who will
grab a spoon and a jar of peanut butter
and eat it right out of the jar.
I know, it's so lady like, right?
Surely I'm not the only woman who does this, am I?
Surely I'm not the only woman who does this, am I?
What's not to love about peanut butter?
Unless of course you are allergic to peanuts,
than I totally understand the dislike.
I was such a picky eater when I was growing up.
I HATED meat of any kind, but I
sure LOVED peanut butter and cheese.
Not together of course that would taste a little funky.
Not together of course that would taste a little funky.
At least I was able to get my protein
from those two sources.
I will never forget the first time I had a
piece of homemade peanut butter pie.
I must have been about 11 or 12 years old.
One of my older brothers was dating a girl
and he brought her over to my parent's
house to introduce her to "the family".
She brought a homemade peanut butter
pie with her that she had made.
My ears sure perked up when I
My ears sure perked up when I
heard her say Peanut Butter Pie.
I had never heard of a Peanut Butter Pie before.
My Mom was never a baker,
so the only pies that I had ever eaten were
the kind that you find in the freezer section
of your local grocer. Never made from scratch,
and never a peanut butter pie.
and never a peanut butter pie.
I couldn't wait to dig into this pie!
It wasn't fancy looking, just a graham cracker
crust filled with a peanut butter filling. It
didn't even have a topping on it.
But let me tell you, it was HEAVENLY.
It was Love At First Bite for this peanut butter loving girl!
Whenever I think about this Peanut Butter Pie I start
salivating like one of Pavlov's dogs!
And you all thought I was such a lady! Tsk.

It was Love At First Bite for this peanut butter loving girl!
Whenever I think about this Peanut Butter Pie I start
salivating like one of Pavlov's dogs!
And you all thought I was such a lady! Tsk.

I was so impressed with this pie that I
requested the recipe from her. I knew
she passed onto me, but as you can see, I have
tweaked the recipe a little. It still has the same
great taste as the original recipe, but better!
that this pie was going to be with me
for the rest of my life. I'm so grateful that
she remembered to bring this recipe with
her the next time she visited because that
relationship didn't last long.
I still to this day have the original recipe thatshe remembered to bring this recipe with
her the next time she visited because that
relationship didn't last long.
she passed onto me, but as you can see, I have
tweaked the recipe a little. It still has the same
great taste as the original recipe, but better!
This pie is so incredibly easy to make and
literally takes minutes to put together.

than it takes to put it together.
The presentation of this pie will have
people thinking that you picked it up from the Bakery.
And when you tell them that you made it, well they will
think that you spent hours in the kitchen preparing it.
Shhh, don't tell them any differently,
it will be our little secret!
 Hubby and my FIL had never had, or heard, of
Peanut Butter pie until I came along. Now they
are both hooked on it. I have yet to meet a person
who has tried this pie and didn't like it. I can almost
guarantee that if you make this pie it will disappear quickly.
 I also made one with a Chocolate Graham Cracker Crust.
 Even though this recipe calls for cream cheese, don't worry
about the taste. You won't even notice it.
NO BAKE PEANUT BUTTER PIE
people thinking that you picked it up from the Bakery.
And when you tell them that you made it, well they will
think that you spent hours in the kitchen preparing it.
Shhh, don't tell them any differently,
it will be our little secret!

Peanut Butter pie until I came along. Now they
are both hooked on it. I have yet to meet a person
who has tried this pie and didn't like it. I can almost
guarantee that if you make this pie it will disappear quickly.

about the taste. You won't even notice it.
NO BAKE PEANUT BUTTER PIE
9-inch Graham Cracker Pie Crust
For the pie filling
1 (8 oz.) package Cream Cheese, softened
1 cup Creamy Peanut Butter
1 cup Confectioners' Sugar
1 (8 oz.) container Cool Whip
In a medium bowl beat the cream cheese and the peanut butter until fluffy. Add the confectioners' sugar and beat until fluffy again. Gently fold in 1/2 cup of the cool whip until just combined.
Pour the filling into the pie crust and spread evenly. Spread the remaining cool whip over the top.
Refrigerate for 2-4 hours, or until chilled and set up.
See, I told you it was super quick to make!
And the taste? SCRUMPDILLYICIOUS!
Did my co-workers like this pie? You BETCHA!
I brought 2 empty pie carriers home.
Uh Oh, I think I may have started something here!
It's one of those Good, Bad, things though.😉
I brought 2 empty pie carriers home.
Uh Oh, I think I may have started something here!
It's one of those Good, Bad, things though.😉
That's it for this week.
Until Next Time,
Veronica


