Sunday, July 29, 2018

Quick Baby Shower Gift

Are you in a predicament and need a quick
baby shower gift?
Our twin Grandbabies decided to arrive 5 weeks early.
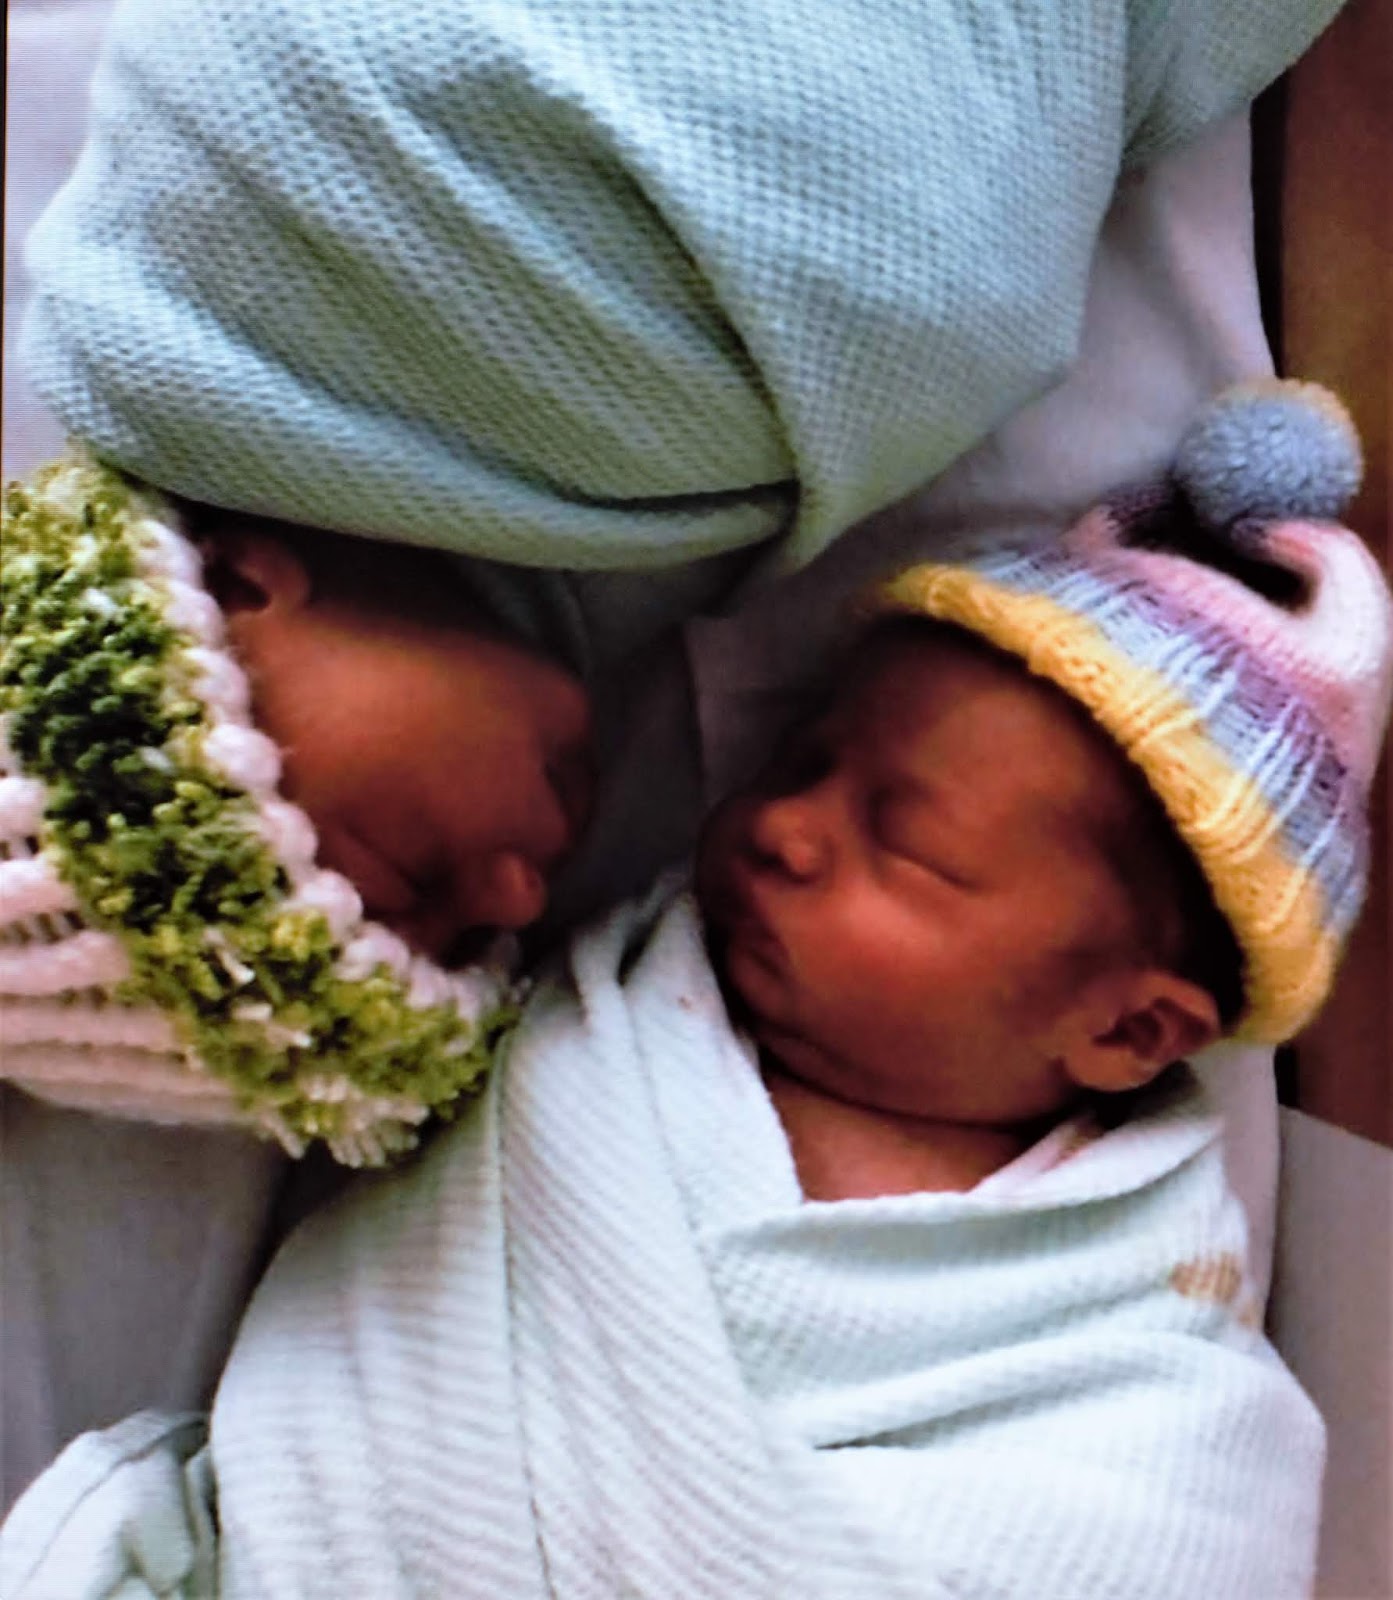
So yeah, I needed a quick gift.
I always like to take a gift into the hospital with me.
When our 1st Grand Son was born, I created a bouquet
of flowers using diapers.
This time around, I created 2 wreaths using newborn diapers.
If you can tie a knot, you can make these.
What new Mom couldn't use a few more diapers?
I used 3 different colored 2 1/2 inch wide wired ribbons
and sporadically tied them around the wreath.
This is a view of the back.
Want to make one?
Start with these supplies.
Open the diaper and place onto the wreath form.
Cut a piece of ribbon, or string, and tie the diaper together.
Continue adding the diapers until the wreath form is completely covered.
I added 20 newborn diapers to an 18 inch wreath form.
You can stop here and add a bow and call it done,
or you can dress it up a little more like I did.
Sorry, I forgot to take a picture at this point.
I created a flower using my Silhouette Cameo machine
and attached the flower to a colorful paper straw.
Lastly, I created a big bow for each wreath
and attached them to the wreath form with pipe cleaners.
It took me about 1 hour to complete each wreath.
Our DIL thought they were super cute.
Not only are they a super cute idea, they're practical too.

Time to go and snuggle the Grandbabies.
That's it for this week.
Until Next Time,
Veronica

Wednesday, July 25, 2018

2 For 1 Special

Our twin Grand babies are here!
They surprised us by arriving 5 weeks early.
Our Son and DIL wanted to try and add a little girl to their
family. When they went in to confirm that they were pregnant
again they were told they were getting the 2 for 1 special.
TWINS.
They would get their little girl along with a bonus little boy.
They were shocked at first but quickly accepted
the blessing they would be receiving.
Even though the twins arrived early,
they passed all their tests with flying colors
which is unusual for twins arriving early.
They both received the same middle name
but are spelled differently.
Garrett Ray weighed in at 5 lb. 8 oz.
and Edith Rey weighed in at 5 lb. 11 oz.
While Mom & Dad were in the hospital,
I got to spend time with Big Brother.
Oh how I love this little guy!
He's going to make a great Big Brother.
He loves looking at his baby brother and sister.
Papa was in awe of these little bundles of joy.
How sweet
and precious.
They were not impressed with their car seats.
They settled down after 5 minutes into the ride home.
Mom, Dad, Big Brother and Twins are all doing well.
Fun times ahead.

That's it for now.
Until Next Time,
Veronica

Sunday, July 15, 2018

A Good Nights Sleep

We were in dire need of a new mattress.
Our current mattress that we have been
sleeping on is 15 years old.
Crazy I know.
 I was starting to wake up a couple of times
during the night due to hip and back pain.
I  couldn't take it any more. 
It was way past time to break down
and buy a new mattress.
  I tend to be a side sleeper.
Hubby, he can sleep anywhere and any position.
I envy him.
We checked out a couple of places that sell
mattresses and decided to try out this one from Costco.
It comes with a 100% money back warranty that we couldn't pass up.
If for any reason you aren't happy with this mattress, you
simply return it to the Costco store, even after 2 years.
It's their #1 seller.
This mattress is pure luxury to sleep on.
It cushions and molds to your body, yet still holds its' shape.
This mattress is 14 1/2" thick.
Our old sheets wouldn't even fit over this mattress.
Before I purchase any big ticket items I like to
research and read reviews.
I ended up buying these sheets from Amazon
due to the rave reviews.
These sheets were rated 4 1/2 - 5 stars by over 39,000 customers.
I can honestly say that I have never written a review for
a product before. These sheets changed that.
As soon as Hubby climbed into bed, he commented
how soft and luxurious these sheets felt.
I was surprised that he even noticed.
I will definitely be purchasing more of these sheets.
Now that we have a new mattress and new sheets, I thought
I would show you how I dressed up our bed for Summer.
I added these floral pillow covers that I made last year.

It's been 3 months since we purchased this mattress and I am
loving it. No more hip or back pain. It is a dream to sleep on.

We are loving and enjoying our new luxurious mattress and bedding.
That's it for this week.
Until Next Time,
Veronica

Sunday, July 8, 2018

Hey, Butterscotch

I love to bake but I have to be very careful about
what ingredients go into my decadent desserts.
Hubby has to limit his chocolate intake
(due to the stimulates from the caffeine),
and our grandson has an egg allergy.
Making desserts that contain no caffeine isn't that difficult,
but finding recipes that contain no eggs is a whole nother playing field.

One dessert that I can make that can be shared by all is
Homemade Butterscotch Pudding topped with Homemade Whipped Cream.
It is rich and creamy and luscious.
Hubby is a HUGE butterscotch lover.
Our grandson is 18 months old and this was
his first time tasting Butterscotch pudding.
Every bite ended with mmmmm.
We couldn't feed him this pudding fast enough.
Hands down, homemade pudding is so much better tasting  than store bought.
It's easy and fast to make and only requires a few simple ingredients.
This pudding was a huge success.
I ended up making a second batch.
Who doesn't love a good rich, creamy and luscious pudding?


HOMEMADE BUTTERSCOTCH PUDDING

Ingredients:

3/4 cup dark brown sugar
3 tablespoons cornstarch
3/4 teaspoon salt
2 cups milk (I use whole)
1/2 cup heavy whipping cream
5 tablespoons unsalted butter
1 + 1/2 teaspoons vanilla extract

Combine the brown sugar, cornstarch and salt into a medium saucepan. Whisk together to remove
any lumps. Continue whisking together and slowly add the milk and heavy cream. Cook over medium-low heat while continuing to whisk until mixture comes to a low simmer and pudding starts to thicken.

Remove from heat and whisk in the butter and vanilla. Continue whisking until the butter is completely melted and incorporated. Pour pudding into individual pudding cups and refrigerate.

HOMEMADE WHIPPED TOPPING

Ingredients:

1 +1/4 cup Heavy Whipping Cream
6-8 tablespoons confectioners' sugar
1 teaspoon vanilla extract

Combine all ingredients into a large mixing bowl. Using the whisk attachment on your mixer whisk until stiff peaks form.

Yields: 2 cups

ENJOY!
Until Next Time,
Veronica

Sunday, July 1, 2018

Getting Benched

We have this solid oak cedar lined chest that sits at the end of our bed.
We use it daily to sit on when we put on our shoes.
Although it's a beautiful chest it's bulkier than what
I would like sitting at the end of the bed, plus
Hubby was forever stubbing his toes on it at night.😢
Since I built a new headboard I was on the hunt for
a bench seat that was narrower than the chest,
sturdy enough to sit on,
 and would blend in nicely with the new headboard.
I had a vision of what I wanted and wouldn't settle for anything else.

One day at my FIL's I spotted this solid wood bench
that was sitting in his basement.
He didn't want it so it came home with me 😊
and I turned it into the perfect bench seat.
It turned out exactly how I envisioned it.
Good quality upholstered bench seats range between $250.00 - $900.00.
Our bench seat costs less than $50.00 to make.
We now have a beautiful custom built bench seat.
Here is a quick rundown on how I created our new bench seat.

To create the seat for the bench I used
a mattress pad, scrap piece of quilt batting,
the same curtain that I used to create the headboard,
leftover cording,
and 2 packages of nailhead trim.


Once I had all the pieces cut to size, using my electric staple
gun I stapled all the layers around the perimeter of the bench.
To give the bench a nicely finished look and to cover up the 
staples I created piping from leftover cording from my sewing stash
and the remaining curtain material, then secured all
the pieces using the nailhead trim.
Once I had the bench top completed the legs were painted 
Chocolate Swirl by Behr. It was the perfect brown to match the nailhead trim.
Our new custom designed upholstered bench works perfect for us.
No more stubbed toes for Hubby.😃
Not only are we enjoying the new bench seat,
our grandson loves it as well.
He loves to climb up on it and sit.
This bench seat came together quickly and easily.
Hubby was surprised that I completed this bench while he was out golfing.
I never imagined I would be able to afford a custom upholstered bench for our bedroom.
It just goes to show, where there's a will, there's a way.

Cost Breakdown:

Bench - Free - donated from my FIL
Mattress Pad - $10.00 at Walmart
Quilt Batting - Free - leftover from my stash
Curtain Panel - $12.00 at Target
Cording - Free - leftover from my stash
Nailhead Trim - $20.00 for 2 pkg. - Hobby Lobby 50% off
Paint - $3.00 sample pot mixed at Home Depot
TOTAL COSTS to build = $45.00

That's it for this week.
Until Next Time,
Veronica