Sunday, May 29, 2016

Remembering Our Veterans

Oh my goodness
it's been awhile since I posted anything!

I've been a little busy behind the scenes
trying to get a few projects completed for
the downstairs bathroom.

I thought that I would take a break and
make a Patriotic wreath in honor of Memorial Day
to display on our front door.  I've been wanting to
make a patriotic wreath for some time and just
never got around to it until now.

A while back a co-worker ask me if I would
like to have a couple of old wreaths that were
her mother-in-law's.  She knew that I was a crafty person
and thought about me before she hauled them off to
the Thrift store to donate. This is one of the wreaths
that she brought me. I knew that I would make good use of this wreath.
I disassembled this wreath and made a new one.

This is what I turned it into!
What a difference huh?
The only thing I purchased for this wreath was
an American flag which costs me $20.00 from Home Depot.
Everything else was recycled or leftovers from other projects.

This is what it looks like with our screen door closed.
I love that you can still see the wreath through the screen.
This was a really quick and easy wreath to make.
It literally took me 45 minutes to make!
I know I say that about everything I do, but this really was easy.

Do you want to make one?

I'll show you how with a step-by-step tutorial.

You will need a wreath form. Mine measures 16 inches.
I recycled an old wreath and saved the flowers.
I purchased this size flag from Home Depot.
Remove the flag from the package and iron it to get all of the
wrinkles out.  Lay the flag out on a flat surface with the right side facing down.
Fold in half lengthwise.
Using your hands press a seam in the flag on the bottom.
Unfold the flag and fold the top and bottom towards the center hand pressed seam.
Using a hot glue gun, glue the bottom seam closed (the end with the stars).
Grab your wreath and lay it on top of the flag.
Place a glob of glue on the star and stripe corners and wrap around the wreath
and attach, being careful not to burn your fingers.


Tuck, fold and glue the center in place.
Turn the wreath over so that the flag is facing up.
Gather the flag on the right side and attach to the 
wreath in the upper right hand corner of the wreath with a zip tie.
Attach a bow to the zip tie area.
I make my own bows but you can purchase already made bows at craft stores.
Add a few sprigs of greenery and flowers.

TA DA!
A new Patriotic wreath.
This wreath will stay on our front door until Fall.
A big THANK YOU from the bottom of our hearts goes out to all
of the Veterans who have paid the ultimate sacrifice for our country. 
You are not forgotten!
Until Next Time,
Veronica


Sunday, May 1, 2016

Easy Roasted Cauliflower

Do you struggle with getting your
family members to eat their vegetables?

Well struggle no more.

This Easy Roasted Cauliflower is so
tantalizingly good they will be asking for seconds.
I know because I speak from experience.
Hubby isn't a big fan of vegetables,
but when I made this and gave him a bowl
to try, he gobbled it right down and came back for seconds!
He said it was "VERY, VERY, TASTY".
Also, when I asked him how my picture looked
he said, "It just makes me want to reach in there
and eat that bowl of cauliflower".

YES, SUCCESS!

I am usually limited on time when it comes to preparing dinners,
so I am always on the lookout for quick, easy and tasty dishes to make.
This is one of those dishes, plus it required just a few simple ingredients.

One suggestion though before you make this.
Buy 2 heads of cauliflower because someone just might eat the first
batch right off of the baking sheet and feel just the tiniest bit guilty
because there wasn't much left to share...ahem....not that I know anything
about that....I'm just saying....buy 2 heads.

I'll show you how quick and easy this is to make
and also post the recipe at the end of this post.

Start with a head (or 2) of cauliflower.

Chop the cauliflower into florets and wash thoroughly.
Melt your butter.
I placed mine in a glass measuring cup, placed a paper towel over the top,
and melted it in the microwave for 1 minute.  Add in the garlic powder,
black pepper and salt and stir.
Place the cleaned cauliflower florets into a large mixing bowl
and pour the butter mixture over the top.
Stir until the cauliflower is completely coated.
Sprinkle on the grated parmesan and stir to coat completely.
Spread the cauliflower mixture onto a large baking sheet.
I lined mine with non-stick aluminum foil for easy cleanup.
Place into preheated 425 degree oven and bake for 30-40 minutes,
or until edges are golden brown.
Remove from the oven and place into a serving bowl.
DO NOT sample a taste off of the baking sheet because
it will NEVER make it into the serving dish! ha, ha.
 
DIG IN!!!!
 Doesn't that cauliflower look so yummy?
 
 
Easy Roasted Cauliflower
 
 
1 Large head Cauliflower, cut into florets
5 tablespoons Butter, melted
1 teaspoon Garlic Powder
1/4 teaspoon Black Pepper
1/2 teaspoon Salt
2/3 cup Grated Parmesan Cheese
 
Preheat oven to 425 degrees.
Mix together melted butter, garlic powder, black pepper and salt and stir.
Pour melted butter mixture over the cauliflower florets, stir to coat.
Sprinkle grated parmesan over cauliflower mixture and stir to completely coat.
Spread cauliflower mixture onto a large baking sheet and bake for 30-40 minutes, or until the edges
are golden brown.  Place into a serving dish.
 
I hope that you give this Easy Roasted Cauliflower a try.  I'm sure that it will become a family favorite.
 
That's it for this week.
 
Until Next Time,
Veronica

Sunday, April 17, 2016

Half Bath Reveal

As I sit typing this post it is 86 degrees here today!
I guess when Mother Nature decides it's time
to warm up she gets right to it!
No complaints here though.
We are enjoying the warmer temps.
 
We finally have the half bath complete!
Yes!
Fist pump here.
One more room conquered!
 
As usual, this post will have LOTS of pictures
for you to view so let's get started.
 
I didn't get any before pictures of the look of
this half bath because I didn't know that
Hubby was going to start ripping this room apart.
I was out grocery shopping when he decided to start ripping!
Luckily I snapped a picture of the wallpaper the day before.

It wasn't a bad look, we just wanted to remove ALL wallpaper from this house.
All of the bathrooms in this house had  this type of builder grade light fixture.
These lights would get SUPER hot. 
The half bath and the downstairs bathrooms also
had these basic builder grade mirrors.  Blah, blah and more blah!
Hubby removed the wallpaper and our house looked like this for about a month.
No sense cleaning up the mess until we were done remodeling!
This half bath is located by our front door.
 We didn't realize that our commode was pink until the wallpaper was removed.
If you look closely you can see a hint of pink. Believe me when I tell you, it was
more than a hint of pink!  It had to GO!
This is a view on the other side of the room.
Hubby had already removed the wallpaper, light and mirror.
Are you ready for the reveal?
 
TA DA!
 
Our new look.
This picture was taken with the natural light shining through.
The picture on the wall is a cross stitch that I made in 2003
and had professionally framed. It fits this bathroom perfectly!
Here is the look with the lights on.
The walls are painted with the same color as our Master Bath,
Natural Gray by Behr.
The light in this room brings out the purple undertones
so I decided to add purple and gray accessories.
Let's look around the room.
No more pink commode!
I made another Roman shade out of the mini blind that was in this room.
Here is a closer look.
Notice the true gray wall color.
If we ever need privacy we just lower the shade.
 
We have come full circle.
It's funny how the natural light affects paint colors.
Here the room has a blue and purple hue look.
A close up of the little stand that Uncle Albert built us and a new rug.
The rug also matches the floor tiles perfectly!
This is what you see when you walk in our front door.
This is the view from the living room.
Isn't that gray paint color so pretty?
Here is a list of what we did to this room.
 
Removed the wallpaper, light and mirror.
Painted the room.
Added a new light fixture, framed mirror and commode.
Created a Roman shade.
I did not spend any money on new accessories. I used what I had.
 
I hope you have enjoyed seeing our little half bath makeover.
 
Hubby has already started remodeling the Guest Bath downstairs.
With the weather turning warmer the Guest bath may be put
on hold so that we can get some outdoor sprucing up done around here.
I'll be sure to keep you posted.
Until then enjoy the warmer temps.
 
Until Next Time,
Veronica


Sunday, April 3, 2016

Inexpensive Roman Shades & A Story

Today is all about inexpensive custom made Roman Shades.
When I revealed my custom made Roman shades
in our kitchen I told you that I would let you in
on my little secret as to where I got them made.
If you have ever gotten a price to have custom made
Roman shades with a design you already know how EXPENSIVE they are!
 
So I did a LOT of shopping around,
and I found this really inexpensive place to get custom
made Roman shades that look beautiful and high end!
 
My secret place where I found inexpensive custom
made Roman shades is.......

My Own Home!
 Yep.
They were made right in my house by little ol' me!
I really wanted stylish custom made Roman shades until I found out the price!
Let's just say that I was NOT going to fork over that kind of money!
Ummmm, no, NOT HAPPENING!
Not now, not EVER!
 
Believe it or not,
I made these out of our cheap, boring mini blinds!
 
These are super easy to make because there is NO SEWING REQUIRED!
 
The first one I made took me about 1 1/2 hours from start to finish,
after that I had it down to 3/4 - l hour.
 
Here is my step-by-step tutorial so that you can make
these inexpensive Roman shades also.
Don't be intimidated by all of the steps,
they really are easy to make.
 
 
A few supplies that you will need:
Mini Blind that fits your window (recycle one, or buy a cheap one from Walmart)
Tape Measure
Liquid Stitch Fabric Glue
Heat-n-Bond Hem (use 1/2 inch size)
Scissors
Iron and Ironing Board
Material
(I used Home Décor fabric that I purchased for 50% off)
 
LET'S GET STARTED!
 
 I recommend reading all the steps before proceeding.
 
Iron your material to remove any wrinkles or creases and set aside for later use.
 
Lay out your mini blind and extend it to its full length.
Measure the length and width of the mini blind
and write it down for later use.
 
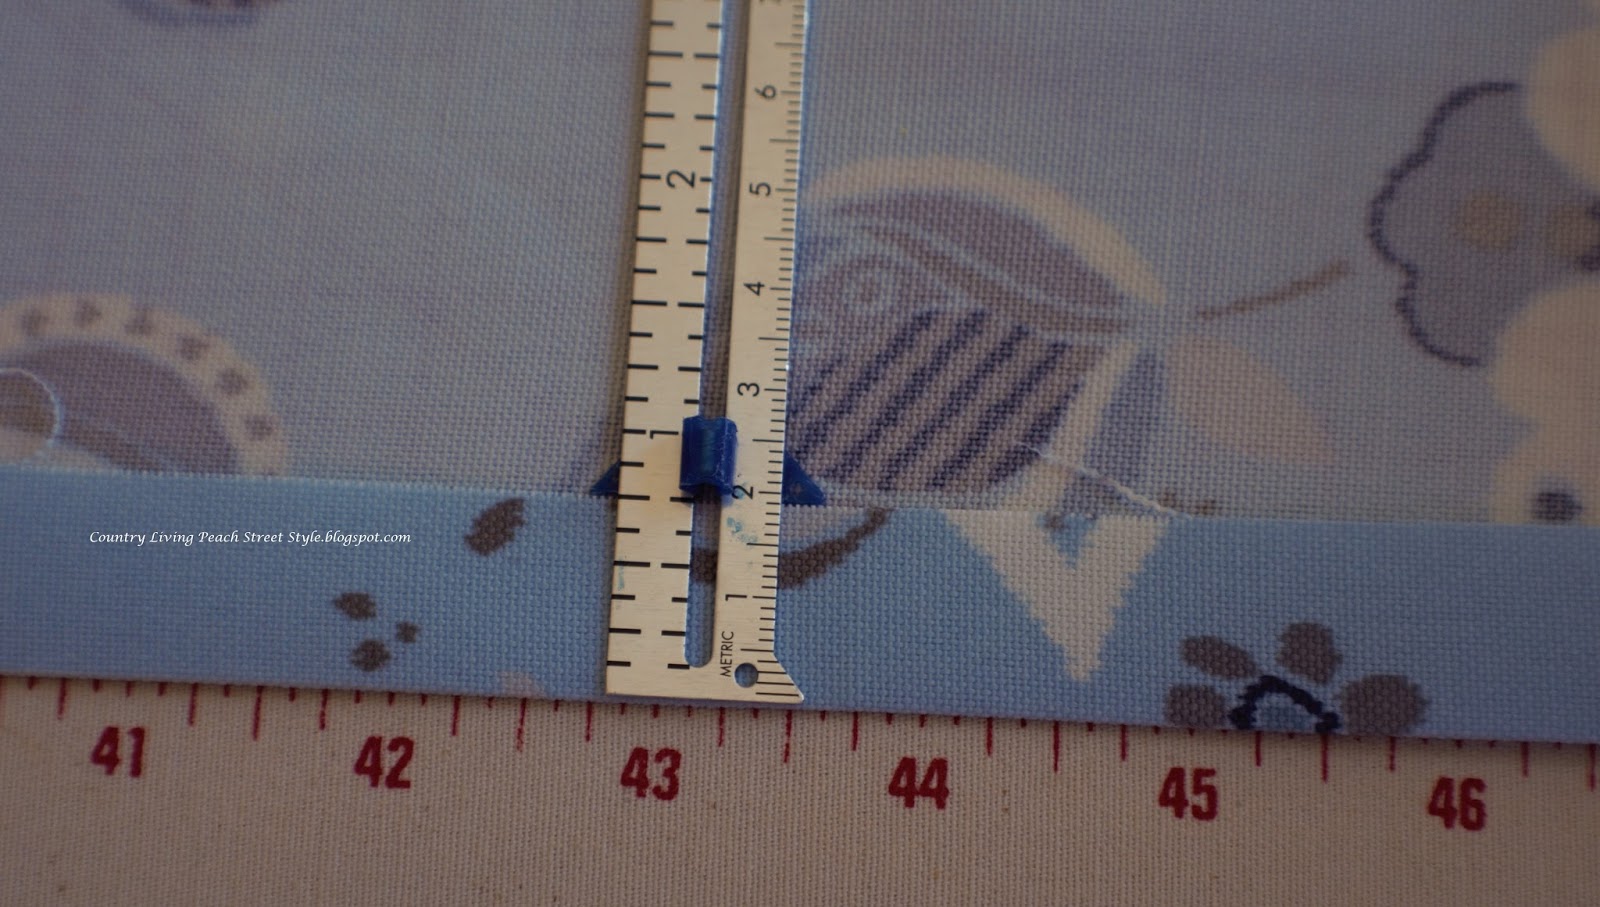
Measure your fabric 1 inch wider and 2 inches longer than your window opening.
Mark and cut your fabric.
Fold in each side 1/2 inch and press.
Lay your hem tape inside the fold and press in place.
 
A perfect No Sew Hem!
Lay your fabric face down on a flat surface.
I didn't hem my top and bottom.
I just made sure I had a straight edge after hemming the sides.
Grab your mini blind and wipe any dust or grease from
your top bar and dry.  Apply a generous amount of fabric glue
to the front top bar of the mini blind.
Spread the glue across the bar.  I used my finger.
Grab the top of your fabric and secure to the top glued section of the mini blind.
I smoothed out the fabric using my hand and then secured it with clothes pins.
Let dry for 30 minutes.
While you are waiting for the glue to dry, extend the mini blind
and locate the two types of cords that run through the blinds.
There should be a thicker cord that runs through the blinds,
and a ladder-looking cord that supports each blind.
Grab the ladder-looking cord and cut each ladder cord and remove.
*DO NOT CUT THE THICKER CORD*
 
 
Locate the plugs on the bottom bar and remove.
Untie the cord and remove the bottom bar from the mini blind.
*DO NOT CUT THE CORD*
Remove the slats.  Don't throw them away!
Using your tape measure, determine how far apart you want your slats
for your Roman shade to be spaced. I spaced mine every 6 inches.
I used a total of 5 slats.
Using a pencil place a mark on each side of the fabric. Slide the number
of slats back onto the pull cord with the rounded side face down and
line them up with your pencil marks.
Starting at the top slat, turn the slat over and run a line of glue
across the rounded side, being careful not to glue the pull cords.
Turn the slat over and press onto the fabric at the marked lines.
Continue with the rest of the slats in the same manner.
Feed the bottom bar back onto the pull cord.
Tie the knot in the cord and replace the plugs.
Fold the bottom fabric up and glue to the bottom side of the bar.
Secure in place.  Let dry for 30 minutes.
Now, go hang that beautiful Custom Made Roman Shade!
No one will be able to tell that these are made out of cheap mini blinds!
These Roman shades will raise and lower just like your mini blinds.
Because I had everything except the material to make these
Roman shades I spent around $15.00 per shade.
What an easy and inexpensive way to update your mini blinds,
plus you get the added bonus of having a custom designed look for less!
That sounds like a win, win to me!
I'll take custom designed look for LE$$ any day!
How about you?
 
Oh, I almost forgot to tell you the story about my Roman shade.
When I went to the fabric store to pick out the fabric for my
Roman shade for our master bath, I took along a paint swatch,
our new shower curtain, and one of the bird prints with me.
I don't like to make extra trips because something doesn't
coordinate so I try to take things with me and coordinate
them in the store.  As I was walking around the store
trying to coordinate my things with the fabric, I noticed
a woman who was always behind me wherever I went.
I finally decided on which fabric I wanted and headed to
the cutting counter.  I laid my stuff on the cutting table
along with my fabric.  The women at the cutting counter
always ask what your doing with the fabric.  I mentioned that I
was in the process of redesigning our master bath and
I was going to make a Roman shade from a mini blind
using the fabric.  As I was waiting for my material to
be cut the woman who had been following me around
the store approached me and ask if I was a Professional Decorator!
I looked at her with a surprised look on my face and told her,
"No I am not, I'm just redesigning our master bath".
She wanted to know if she could hire me to redesign her home!
Again, I looked at her with this shocked look on
my face and sadly told her that I work a full time
job and am in the middle of redesigning our
own home and that I am limited on time.
To say that I was flattered is an understatement!
I have had this happen to me before at a different
fabric store.  I think I look like a "professional"
because I bring things with me to the store
and act like I know what I'm doing.
I realize not everyone likes my "style"
and I'm o.k. with that.  I style our home to suit
our likes and what feels warm and inviting to us.
 
I hope you enjoyed my little tutorial and story today.
 
That's it for this week.
Until Next Time,
Veronica