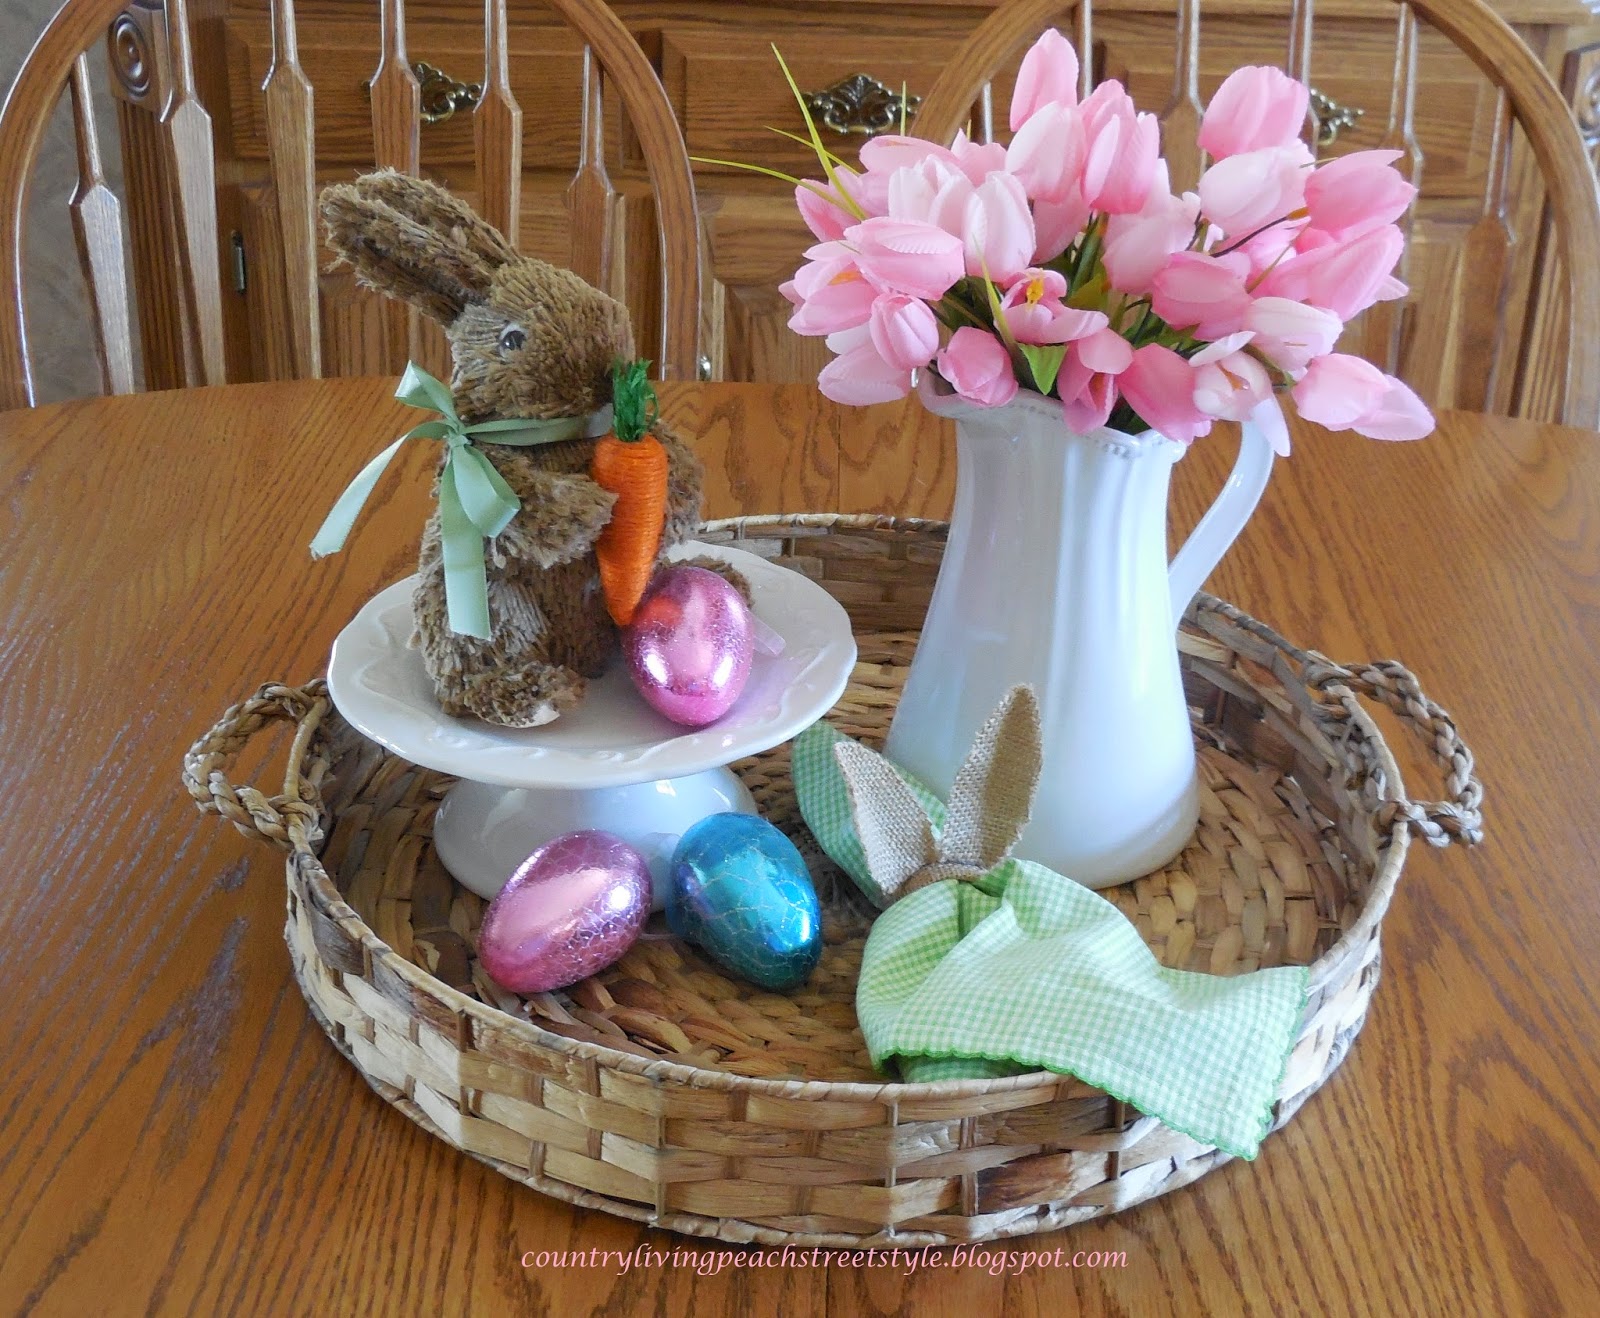
I thought that I would do a couple
of Easter/Spring vignettes and
incorporate some eggs into them.
I've been seeing Glitter Eggs
in all of the stores and thought
that these would give my vignettes
a nice Easter touch.
But I didn't want to pay the price they were asking for them.
I knew that these would be a very easy
project to do, especially since I had most
of the supplies at home. I just needed the eggs.
I went to our local Family Dollar Store
and purchased two packs of plastic
eggs for $1.00 each.
DIY GLITTER EGGS
Supplies:
Plastic Eggs
Decoupage Glue (or any craft glue that dries clear)
Foam Sponge brush
Round Toothpicks
Glitter (match your glitter to the egg color)
(I used Martha Stewart glitters. Her glitters are so pretty!)
Plastic container with lid for each glitter you are using
Plastic Spoon
Wax paper
1. Take a round toothpick and insert it into one of the holes on the bottom of the egg,
leaving enough out to hold on to.
*I placed a length of masking tape on the lid of the plastic container and wrote the
brand name and color on it. This way when I'm running low I will know exactly
which brand and color to buy.
2. Using the foam brush, brush on a good layer of glue over the entire egg.
3. Place the egg over a plastic container and sprinkle with the matching
glitter color, turning and sprinkling until the egg is completely covered with the glitter.
4. Place the egg, with the toothpick still in it, on a piece of wax paper
to dry. Let dry for about 1/2 hour. After 1/2 hour, pick up the egg
using the toothpick, the bottom of the egg will still be wet,
re-sprinkle the bottom of the egg with the glitter,
place back on the wax paper with the dry side down. Let dry completely.
5. After the eggs have dried completely, gently pull out the toothpick.
Your eggs are now ready for use.
This is how I displayed mine in the kitchen.
My bunny cake plate and bunny I bought from Pier 1 Imports is
what inspired me to make the glitter eggs.
I purchased a Carrot cake to place on the cake plate.
Hubby wanted a piece of that cake SO BAD.
I told him he had to wait until I got my pictures taken.
It was pure TORTURE for him!
My glitter eggs cost me $2.00 and about 1/2 hour to put together.
Simple and inexpensive!
By making my own glitter eggs I will be able to touch up the eggs, if need be,
matching the glitter perfectly.
This is the little vignette that sits on our Dining room table.
And another that sit on the buffet in the Dining room.
A basket of speckled eggs on a bed of moss.
And a final one that sits on the Dining room hutch.
That's it for this week.
Hope you enjoyed my simple tutorial and a glimpse of our home.
Until Next Time,
Veronica


No comments:
Post a Comment