Sunday, October 26, 2014

Super Easy Envelope Pillow Covers!

I've mentioned how much I love pillows.  Well, there comes a time when I have to store them somewhere.  I have so many pillows that my closets are filling up and running out of space!
 
This is just one of the closets with pillows!
 
 
As I was looking at my newest Pottery Barn catalog, I don't know why I didn't think of this idea sooner, I noticed that they have pillow covers!  And the sad truth is, I've actually bought some from them before. That's when I had a DUH moment! I could make my own! I could actually have a couple of pillow forms and change the look by simply changing the pillow covers.  And when the pillows become soiled, I could just remove the cover and wash them instead of throwing them out!  Brilliant!  Plus I save a TON of money by making my own!  Less pillow forms means more space for other things. Grin, Grin.
 
So I went online and searched for an easy pattern to make my own.  I checked out several different patterns and combined a few to come up with a very easy, simple and quick pattern.  I made 4 pillow covers in 1 1/2  hours!  That's from start to finish!  You too can make these simple pillow covers with a few supplies.
 
Supplies needed:
Pillow forms (mine are 18" x 18") I got mine from Joann Fabric. Walmart has them also for around $5.00.
Material, any type (I used upholstery fabric)
*Yardage for (2)  18" x 18" pillow covers - 1 1/4 yards of  45" wide fabric
matching thread
measuring tool
scissors
sewing machine

 
Here are my step by step instructions for an 18" x 18" pillow cover.
 
First I ironed my material so that all of the wrinkle were gone and the material would lay flat.
 
*I folded my material in half, with wrong sides together,  because I was making 2 pillow covers.


Step 1: Cut 1 piece of material the size of your pillow form, plus 1 additional inch for seam allowances.  This will be your front piece.
 
Example:  18 x 18 pillow form - Cut 19" x 19"

 
Step 2: Cut 1 piece 19" x 25".  Then cut this piece in half from bottom to top.  These will be your 2 back pieces.
 
 
Step 3:  Take one of the back pieces and fold down a 1/4" seam and iron in place.
 
 
Step 4:  Roll down another 1/4 seam and iron in place.  Do Steps 3 & 4 for both back pieces.
 
 
Step 5:  Take your 2 back pieces and sew close to the edge of the hem on both pieces.   This will give you a nice finished edge so that your material won't fray.
 
 
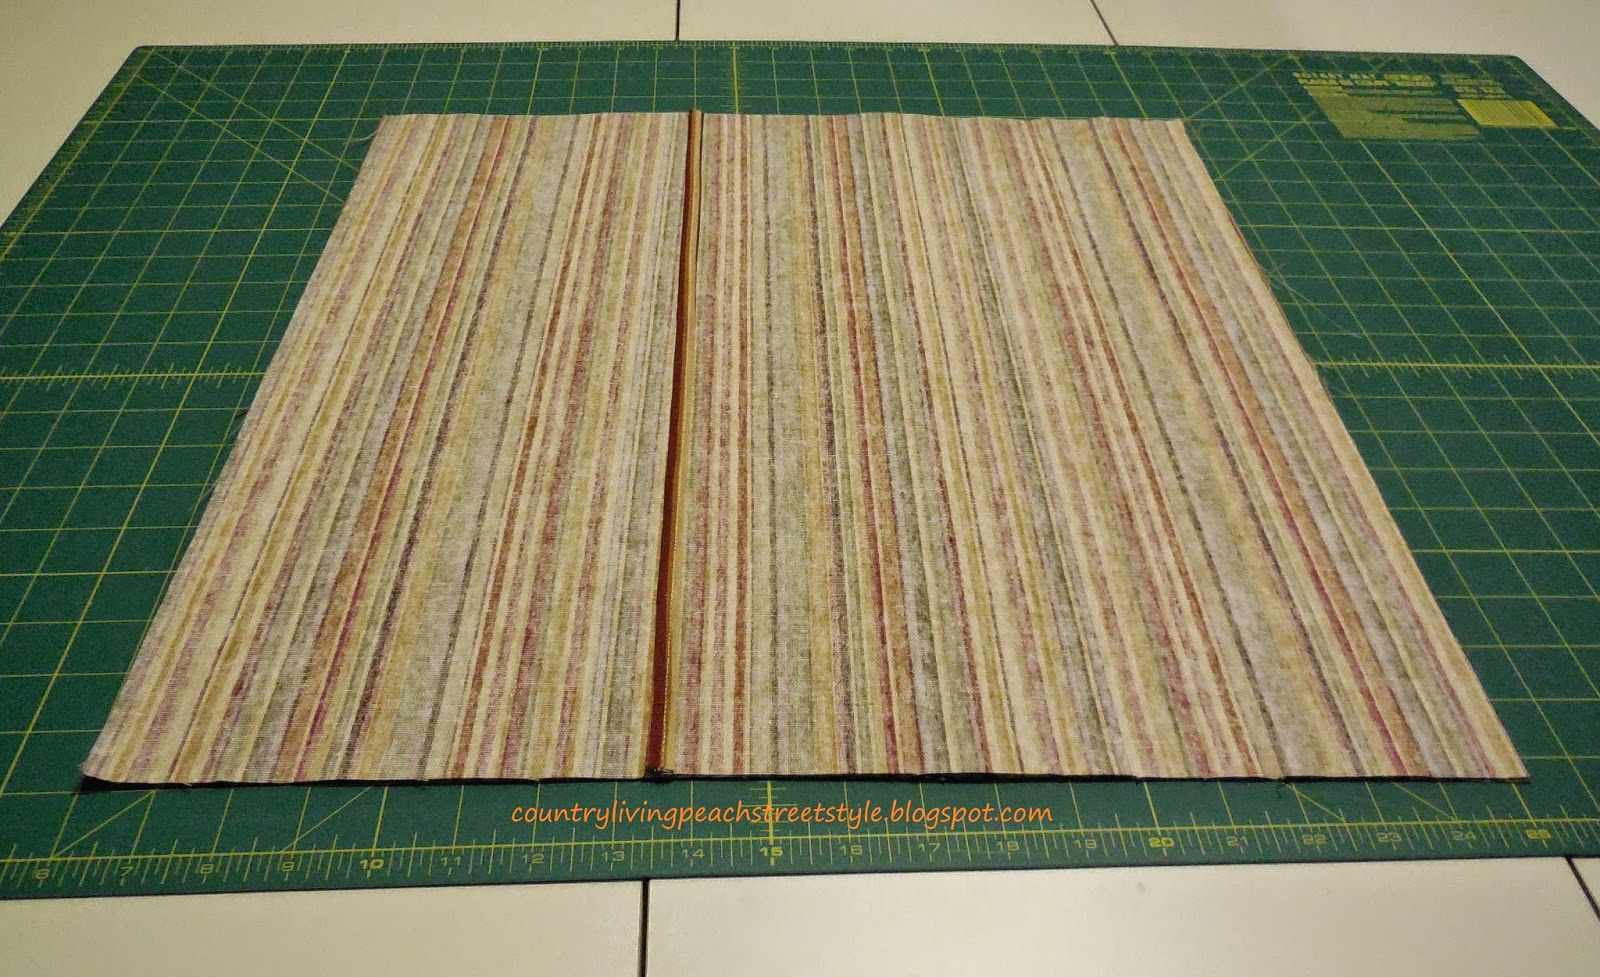
Step 6:  Now you are going to make a sandwich with your 3 pieces.
             Lay down your front piece with the right side facing up.
             Next, lay 1 of the back pieces on top of the front piece with the right side facing down (right sides together).
 

 Step 7:  Take your 2nd back piece and lay it over the other 2 pieces (right side down).  Making sure all the edges are lined up.


Step 8:  Pin the layers together all the way around.
 
 
Step 9:  Sew a 1/2" seam all the way around the entire edge.  I like to add a few additional stitches over the opening area.
 
 
Step 10:  When you have sewn completely around the pillow cover, trim the corner edges.


Step 11:  You are now ready to turn your pillow cover right side out.  With a turning tool, or something with a pointed end, push out the corners on the pillow cover.
 

Step 12:  Grab your pillow form and insert it into the pillow cover.


This is what the back should look like.
 
 
Step 13:  Fluff up that pillow and go take a nap!

I made 2 of each of these pillow covers.
 
 
These "Easy To Make Pillow Covers" can be made for ANY size pillow form.
I hope that you have enjoyed my tutorials and that they are easy to understand.
Check back next week for another great project!
 
Have a WONDERFUL DAY!
Veronica


Thursday, October 23, 2014

Brisk Fall Morning

It's cold here, 39 degrees!
Yesterday we had a heavy frost.
 
As I was opening the blinds this morning
to let in the morning sun, I just had to step outside to take this picture.
 
 A beautiful early morning fall sky.


We usually don't see much fall color here.
We have a lot of oak trees which just turn
yellow and then to brown.  Pretty blah.
 
But this year Mother Nature decided to fool us and give us some color!
 
This is our view out our front window.
 
 
Here is a picture of it when I stepped outside.
 
 
This one is taken from the back porch looking toward the front.
 
 
This past weekend Hubby put all the furniture on the
back porch away for the winter.  It looks so bare
back there now.  I'm not ready for winter yet.
Heck, I'm never ready for winter!
 
 
We're expected to have scattered showers today
and a high of 53 degrees.  I see the clouds are
already starting to roll in.
 
 
There goes our fall colors!  Hubby has his work cut out
for him.  The back yard is already covered in a
blanket of leaves.
 
 
Even though he has a bagger that attaches to his tractor,
it's still a lot of work to gather the leaves.  He doesn't
mind too much because it gets him outdoors in the fresh air.
Now if he can just stay away from the poison ivy!
 
That's it for today.  Enjoy the beautiful fall days
while you can!
 
Happy Fall Y'all,
Veronica


Sunday, October 19, 2014

For the Love of Pillows

I have a confession to make.
 
I LOVE throw pillows!
I can't get enough of them!
 
Whenever I go to a department store I always
check out the pillow section.
 
My FAVORITE store to buy home décor is Pottery Barn.
You could say I'm a Pottery Barn kind of gal.
 
Although I love Pottery Barn they are a bit pricey.
I only buy items that are on sale or clearance from there.
I can honestly say that I never pay full price there.
 
As I was looking through their Fall catalog, I really wanted to buy some of the
 fall pillows to go with the rest of my fall décor.
Even though there was a sale going on, I just couldn't see spending that kind of money
for a pillow.  Sadly, I didn't purchase any.
 
One morning as I was killing some time before my dentist appointment,
I thought I would pop into Walmart and have a look see around since it
was close by and the only store open at that time of morning.
I noticed that they had just put out some fall items in the kitchen area.

And then I saw these placemats by Better Homes and Garden.....


and I had a light bulb moment!
 
Wouldn't this make a pretty fall pillow?
 
It had pretty appliqued leaves and beautiful embroidered scrolled vines.
 
I picked it up and turned it over to see the back side and
noticed that it had a back liner on it!  And the best part was it was only
$2.98!  So I grabbed two of them.
 
 
Last Saturday I was determined to make a pillow out of these.
 
First, I put my seam ripper to work.
 
 
I took part of the bottom seam apart to create an opening.
 
 
I knew that I had a couple of bags of Poly-Fil laying around that I could use to stuff these with.
 
 
And stuff away I did!
 
 
Once I got both placemats, I mean pillows, stuffed, it was time to close the opening back up.
I actually was able to sew these shut on my sewing machine instead of hand stitching them.
 
TA DA!
My new fall placemat pillows


What do you think?  Do you like them?
 
These 2 pillows took me less than 20 minutes to make.
And the best part about this project was it only cost me
a whopping $5.96 for 2 pillows!!!
 
I think these look just as good as any of the Pottery Barn pillows.
 
Hubby was dumbfounded with these.  He just shakes his head and
says "Amazing".
 
Check back in next week and see what else I created.
 
Until next week,
Veronica


Monday, October 13, 2014

The Final Destination

As we were heading out of the Grand Tetons to our
final destination we started to see the fall colors.
 
 
Our timing couldn't have been any better!
We hit it at the peak season for fall color!
 
 
Every corner we turned there was color splashed along
the mountain side.


And then we came upon the Snake River.
This is one of the rivers that is on Hubby's bucket list to fish.
It was BEAUTIFUL!
 
 
So of coarse I had to get a picture of Hubby with the Snake River.
See him smiling?  He was in AWE.
 
 
The end of the fall colors.


We've FINALLY reached our final destination!
PARK CITY, UTAH


A little bit about Park City, Utah.
 
 Park City, Utah helped host the 2002 Olympic Winter Games, deemed the most successful Winter Olympics ever. (We weren't able to visit the site where the Olympics were held because it is only open to the public on Saturdays and we left Saturday morning.  Double Bummer)
 
130 years ago people flocked to Park City, Utah to mine the precious metal silver.  During the mining years, the mountains surrounding Park City yielded $400 million in silver and created 23 millionaires, including the newspaper publisher, William Hearst.
 
Today, Park City is a unique blend of the old and new.  Sixty-four of Park City's building are listed on the National Register of Historic Places, many which are located along the town's Main Street, and more than 1,200 miles of tunnels wind through the surrounding mountains, remnants of the mining era.
 
Main Street is uniquely beautiful.
It is a work in progress.


We liked how they preserved and restored the old buildings and built the new ones around them.
 
We can't forget about the Post Office.
 
 
We LOVED Park City!
We could picture ourselves living here!
It was so peaceful here.
 
Wealthy people from all over flock to Park City.
Although there is a lot of wealth here, it was one of the most laid back places
we have visited.  The locals were so friendly here.  It felt like you were in a small hometown.
It didn't hurt either that the weather was perfect.
Beautiful blue skies with gentle breezes.
I highly recommend visiting Park City, Utah.
 
We saw a lot of the houses built on the side of the hills.
These were across the road from our hotel.
 
 
This is where we stayed.
Right on Main Street.
 
 
I hope that you have enjoyed taking a virtual tour of our Road Trip.
 
We love to travel and plan on doing a lot more of it.  So
stay tuned for the next BIG adventure!
 
Until next time,
Veronica