I've mentioned how much I love pillows. Well, there comes a time when I have to store them somewhere. I have so many pillows that my closets are filling up and running out of space!
This is just one of the closets with pillows!

As I was looking at my newest Pottery Barn catalog, I don't know why I didn't think of this idea sooner, I noticed that they have pillow covers! And the sad truth is, I've actually bought some from them before. That's when I had a DUH moment! I could make my own! I could actually have a couple of pillow forms and change the look by simply changing the pillow covers. And when the pillows become soiled, I could just remove the cover and wash them instead of throwing them out! Brilliant! Plus I save a TON of money by making my own! Less pillow forms means more space for other things. Grin, Grin.
So I went online and searched for an easy pattern to make my own. I checked out several different patterns and combined a few to come up with a very easy, simple and quick pattern. I made 4 pillow covers in 1 1/2 hours! That's from start to finish! You too can make these simple pillow covers with a few supplies.
Supplies needed:
Pillow forms (mine are 18" x 18") I got mine from Joann Fabric. Walmart has them also for around $5.00.
Material, any type (I used upholstery fabric)
*Yardage for (2) 18" x 18" pillow covers - 1 1/4 yards of 45" wide fabric
matching thread
measuring tool
scissors
sewing machine
Here are my step by step instructions for an 18" x 18" pillow cover.
First I ironed my material so that all of the wrinkle were gone and the material would lay flat.
*I folded my material in half, with wrong sides together, because I was making 2 pillow covers.
Step 1: Cut 1 piece of material the size of your pillow form, plus 1 additional inch for seam allowances. This will be your front piece.
Example: 18 x 18 pillow form - Cut 19" x 19"

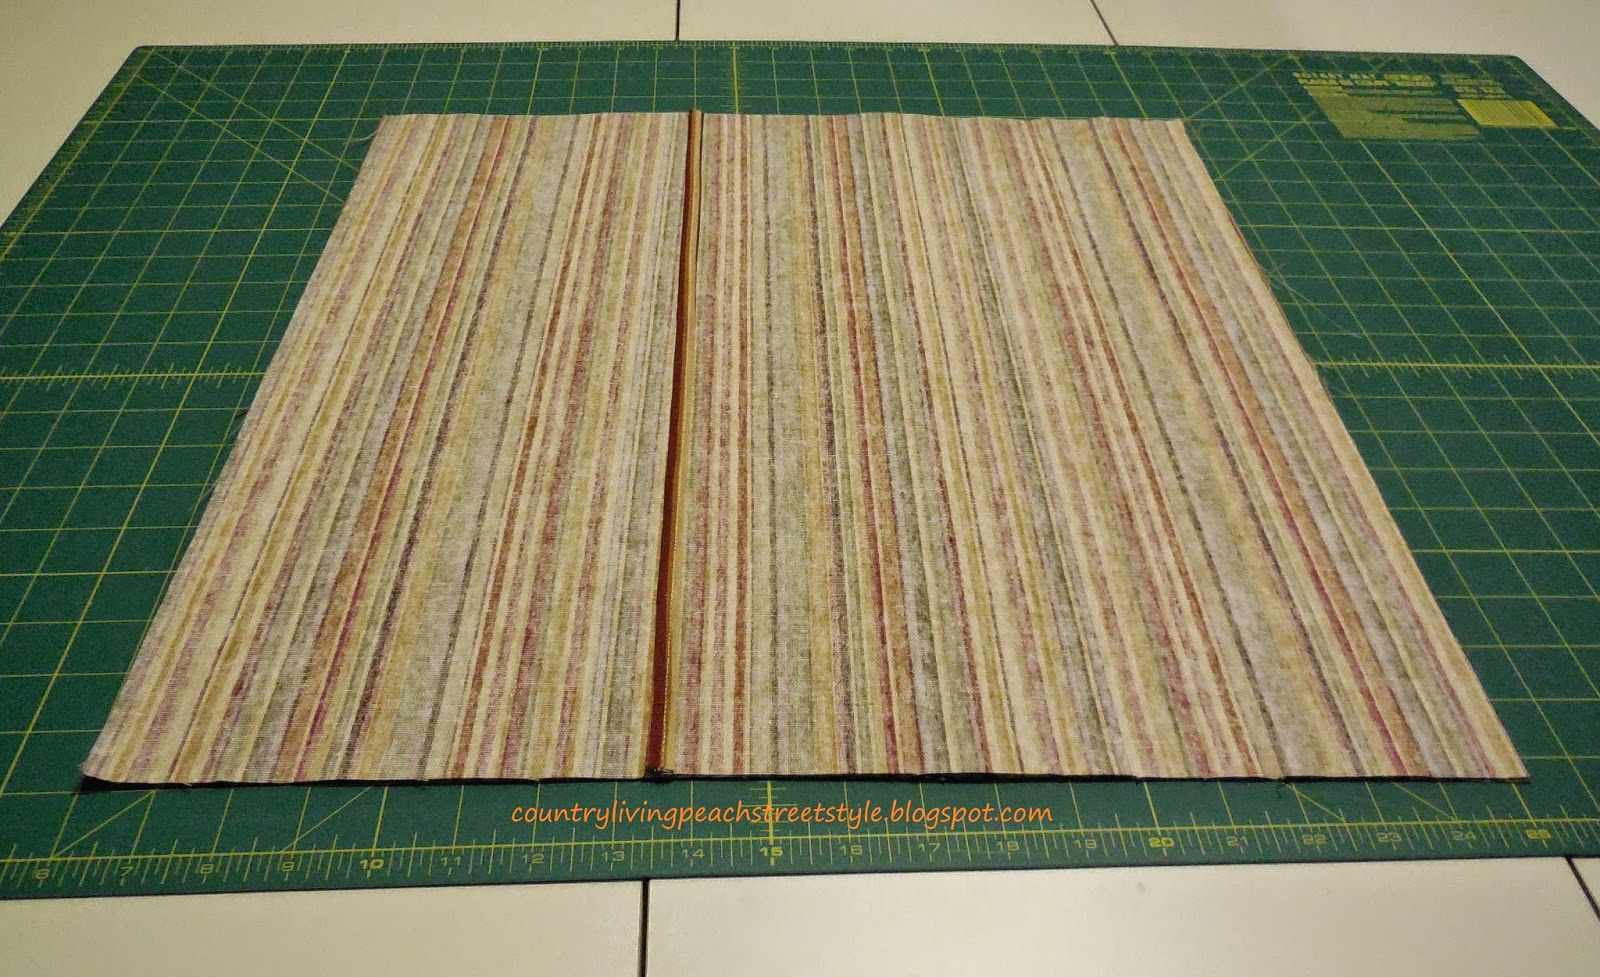
Step 2: Cut 1 piece 19" x 25". Then cut this piece in half from bottom to top. These will be your 2 back pieces.

Step 3: Take one of the back pieces and fold down a 1/4" seam and iron in place.

Step 4: Roll down another 1/4 seam and iron in place. Do Steps 3 & 4 for both back pieces.

Step 5: Take your 2 back pieces and sew close to the edge of the hem on both pieces. This will give you a nice finished edge so that your material won't fray.

Step 6: Now you are going to make a sandwich with your 3 pieces.
Lay down your front piece with the right side facing up.
Next, lay 1 of the back pieces on top of the front piece with the right side facing down (right sides together).

Step 7: Take your 2nd back piece and lay it over the other 2 pieces (right side down). Making sure all the edges are lined up.
Step 8: Pin the layers together all the way around.

Step 9: Sew a 1/2" seam all the way around the entire edge. I like to add a few additional stitches over the opening area.

Step 10: When you have sewn completely around the pillow cover, trim the corner edges.

Step 11: You are now ready to turn your pillow cover right side out. With a turning tool, or something with a pointed end, push out the corners on the pillow cover.

Step 12: Grab your pillow form and insert it into the pillow cover.

This is what the back should look like.

I made 2 of each of these pillow covers.

These "Easy To Make Pillow Covers" can be made for ANY size pillow form.
I hope that you have enjoyed my tutorials and that they are easy to understand.
Check back next week for another great project!
Have a WONDERFUL DAY!
Veronica
it easy as well as cute
ReplyDeletepillow casing